CODE PUSH
A React Native app comprises of JavaScript files and any accompanying images. However, the metro bundler must bundle and distribute them as part of a platform-specific binary. That is a .ipa or .apk file.
Once the app gets launched, updating either the JavaScript code, which may include fixing bugs,
and adding of new features or image assets will require recompilation and redistribution of the entire binary, which includes any review time associated with the store(s) you are publishing to.
There is a backup feature for quick and easy recovery in The CodePush plugin. It maintains a copy of the previous update to allow you to do an auto rollback in case of a crash during the update. The rollback feature is good for end users too, because it will allow them to have a functioning version. The rollback eliminates the need for downtime since you can quickly pull up a rollback.
It is important to note that when your changes include modification of native codes like your AppDelegate.m/MainActivity.java file, you cannot use the CodePush plugin for distribution unless through the stores.
App Center Command Line Interface (CLI)
The App Center command line interface (CLI) is a unified tool for running App Center services from the command line. Integrate app centre command by using the following command.
| npm install -g appcenter-cli |
Sign up With App Center to use CodePush
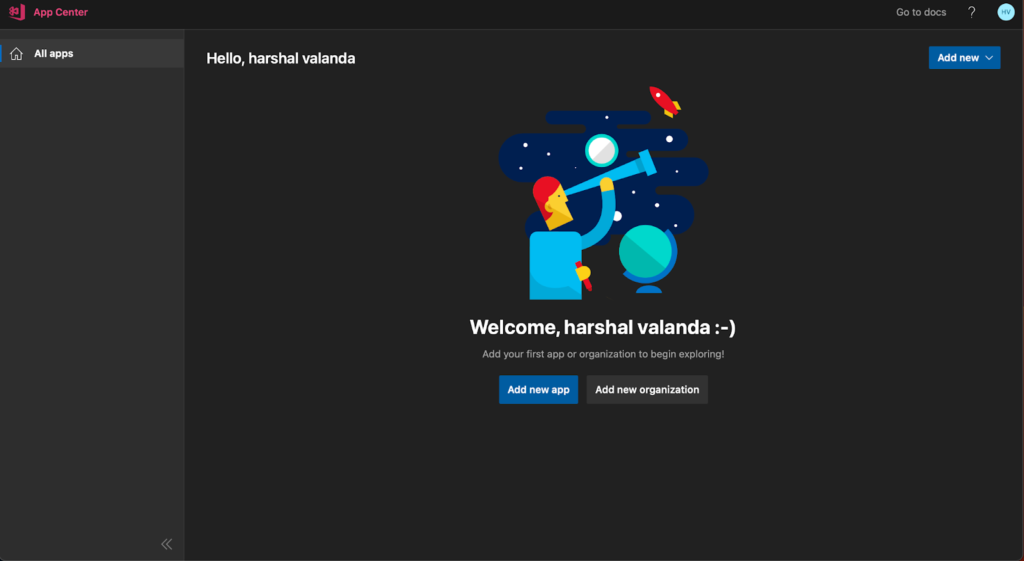
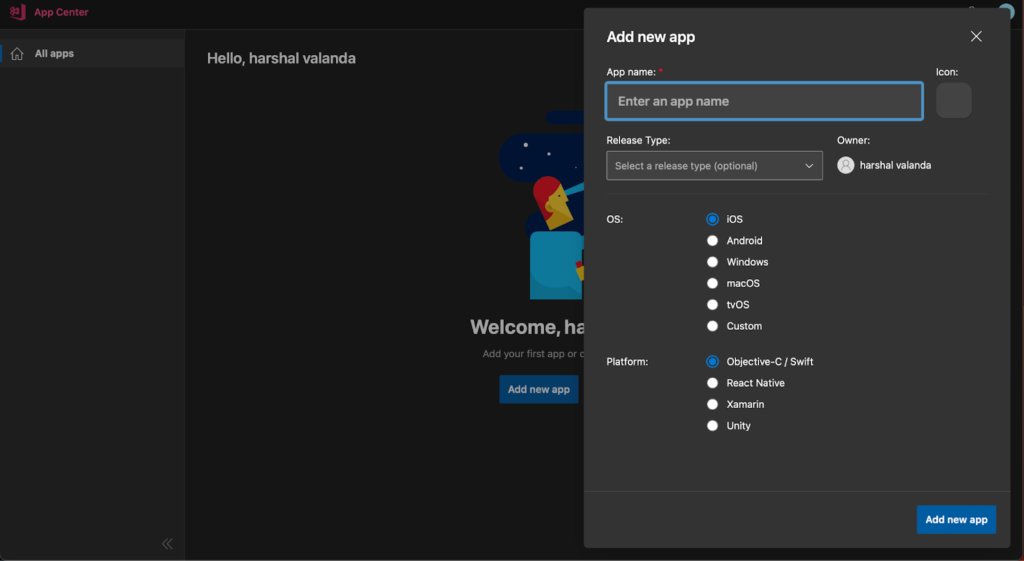
- Create Your project on App Center
- Add your Project Name, Release Type, OS and Platform
- Create a code push deployment key for production and development
Integrate App Center by using the following command
| npm install appcenter appcenter-analytics appcenter-crashes –save-exact |
Android – Create a new file with the filename appcenter-config.json in android/app/src/main/assets/ with the following content:
| { “app_secret”: “{Your app secret here}”} |
Modify the app’s res/values/strings.xml to include the following lines:
| <string name=“appCenterCrashes_whenToSendCrashes” moduleConfig=“true” translatable=“false”>DO_NOT_ASK_JAVASCRIPT</string><string name=“appCenterAnalytics_whenToEnableAnalytics” moduleConfig=“true” translatable=“false”>ALWAYS_SEND</string> |
Add CodePushDeploymentKey into the strings.xml file. Your string.xml look like this
| <resources> <string name=”app_name”>AppName</string> <string moduleConfig=”true” name=”CodePushDeploymentKey”>DeploymentKey</string> </resources> |
iOS –
| pod install –repo-update |
Modify the app’s AppDelegate.m or AppDelegate.mm file to include code for starting SDK.
| #import <AppCenterReactNative.h>#import <AppCenterReactNativeAnalytics.h>#import <AppCenterReactNativeCrashes.h> |
Add these to the application:didFinishLaunchingWithOptions: method:
| [AppCenterReactNative register];[AppCenterReactNativeAnalytics registerWithInitiallyEnabled:true];[AppCenterReactNativeCrashes registerWithAutomaticProcessing]; |
Create a new file with the filename AppCenter-Config.plist in ios/ with the following content:
| <?xml version=“1.0” encoding=“UTF-8”?><!DOCTYPE plist PUBLIC “-//Apple//DTD PLIST 1.0//EN” “http://www.apple.com/DTDs/PropertyList-1.0.dtd”><plist version=“1.0”><dict> <key>AppSecret</key> <string>{Your app secret here}</string></dict></plist> |
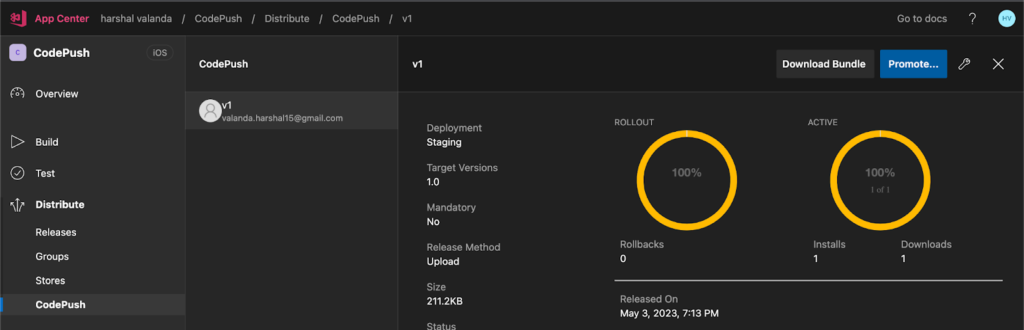
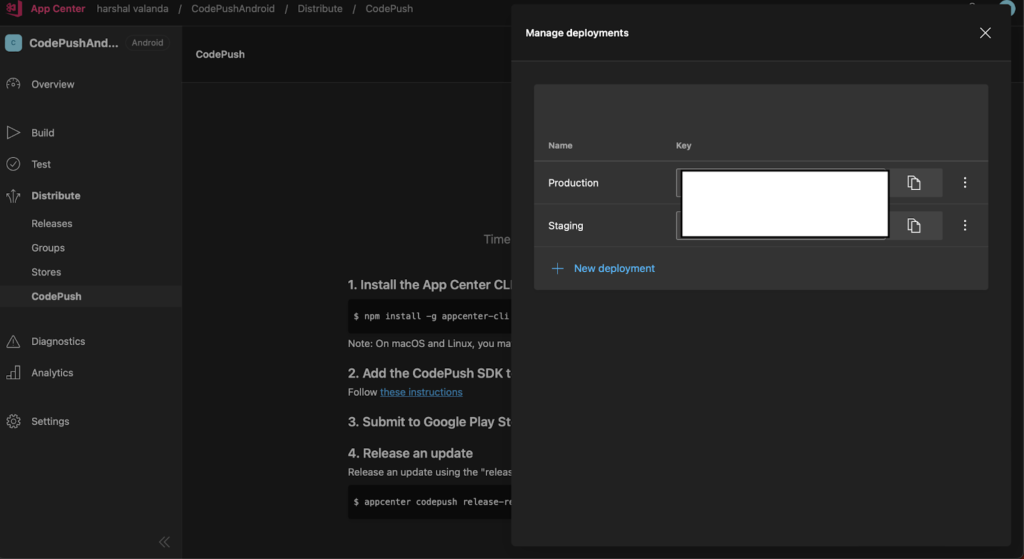
Add CodePushDeploymentKey into the info.plist file. You can find that key on App Center -> Distribution -> Setting -> Production and Staging key
| <key>CodePushDeploymentKey</key><string>{your app deployment key}</string> |
By running the following command from your app’s root directory, you can start CodePush-ifying your React Native app :
| npm install –save react-native-code-push |
You can perform the following steps to integrate CodePush into your Android project
Go to
- your android/settings.gradle file, and make the following additions at the end of the file:
| include ‘:app’, ‘:react-native-code-push’project(‘:react-native-code-push’).projectDir = new File(rootProject.projectDir, ‘../node_modules/react-native-code-push/android/app’) |
- In your android/app/build.gradle file, add the codepush.gradle file as an additional build task definition to the end of the file:
| apply from: “../../node_modules/react-native-code-push/android/codepush.gradle” |
- Update the MainApplication.java file to use CodePush via the following changes:
| …// 1. Import the plugin class.import com.microsoft.codepush.react.CodePush; public class MainApplication extends application implements ReactApplication { private final ReactNativeHost mReactNativeHost = new ReactNativeHost(this) { … // 2. Override the getJSBundleFile method to let // the CodePush runtime determines where to get the JS // bundle location from on each app start @Override protected String getJSBundleFile() { return CodePush.getJSBundleFile(); } };} |
To integrate CodePush into your iOS project, please perform the following steps:
- Run cd ios && pod install && cd .. to install all the necessary CocoaPods dependencies.
- Open up the AppDelegate.m file, and add an import statement for the CodePush headers:
| #import <CodePush/CodePush.h> |
- Find particluar line of code, which sets the source URL for the bridge for production releases:
| return [[NSBundle mainBundle] URLForResource:@”main” withExtension:@”jsbundle”]; |
- Replace it with this line:
| return [CodePush bundleURL]; |
Your sourceURLForBridge method should look like this:
| – (NSURL *)sourceURLForBridge:(RCTBridge *)bridge{ #if DEBUG return [[RCTBundleURLProvider sharedSettings] jsBundleURLForBundleRoot:@”index” fallbackresource:nil]; #else return [CodePush bundleURL]; #endif} |
At this point, you should have your App.js file should looking like this:
1. Import CodePush
2. Add view with background color
3. Create a release APK and install on the Android
4. Install iOS version through the test flight or Install the release version through the Xcode
| import React from “react”;import { View } from ‘react-native’ import CodePush from “react-native-code-push”; function App() { return ( <View style={{ flex: 1.0, backgroundColor: ‘green’ }}> </View> )} export default CodePush(App) |
Now we are deploying our new version using a code push. We will change the background colour of the view from green to red
| import React from “react”;import { View } from ‘react-native.’ Import CodePush from “react-native-code-push”; function App() { return ( <View style={{ flex: 1.0, backgroundColor: “red”}}> </View> )} export default CodePush(App) |
Open the command line tool and paste this command.
| app center code push release-react -a {appcenter-username}/{appname} -d {Staging/Production} |
Check on the app centre once it rolls out. Just reopen the app and see the change displayed on the released Android and iOS versions.